This was my first year canning homemade grape-raspberry jam. Growing up my family had a huge sidewalk that was used for our grape arbor. It was such an impactful memory of my childhood. Summer after summer my grandmother would grow the grapes, harvest the grapes and make several jars of jelly and juice. This memory is one that brings a smile to my face. Even though we lived in city limits most of my food was homegrown. We ate very healthy and wise.
Now, that I have my own family we have a grape arbor started. This was the first year that we have been able to harvest any grapes, but the amount we were able to harvest was well worth the wait. In addition to the grapes, we had a plentiful crop of raspberries. While we had a lot of both, there wasn’t enough to make raspberry jam so I mixed them with the grapes. As luck would have it the mixture was delicious. Here are a few of the steps from beginning to end for canning homemade delicious jam.
Growing Grapes and Raspberries
Three years ago I made the decision to set up a fruit growing area in my garden. We added raspberries, grapes, blueberries and blackberries. Grapes were the fruit I was most excited to grow. As I mentioned previously my family had a grape arbor and really their is nothing quite like homemade grape jam, jelly and juice.
The grapes have taken a few years to produce any fruit. We definitely had more this year than last, so I am very hopeful to have a large harvest next year. My goal is canning homemade grape jam for the year. Since grapes take a few more years’ to produce a good harvest I will have to be patient.
Time Investment for Future Fruit Crop
Gardening is easy compared to growing fruit. Both go in the ground and grow, but tomatoes produce every year whereas fruit has taken me a few years’. Hindsight being 20/20 would have helped me to realize my goals of canning homemade grape jam/jelly would be 3-five years after planting.
The time investment for growing a fruit crop is a little longer, but the rewards also last longer. Planting a garden becomes second nature, and can be taken for granted. But, my fruit crop of grapes this year was a blessing. Likewise, so was the amount I was able to get in jam.
Supplies for Canning Homemade Grape-Raspberry Jam
Supplies are minimal for canning delicious homemade grape-raspberry jam.
First you need 3 1/2 lbs. of grapes, and 2 lbs. of raspberries. Second, you will need a saucepan, 2 cups of sugar, and premium fruit pectin. the fruit pectin has a lot of sugar and that is why I only use 2 cups. Finally, canning equipment and several jars with lids and rings ready when the jars are filled.
Prior to cooking the grapes and raspberries wash them well. You don’t want any surprises in the jam after it sets. The whole batch would have to be thrown out. Bugs and slugs also like the sweet taste we get from fruit.
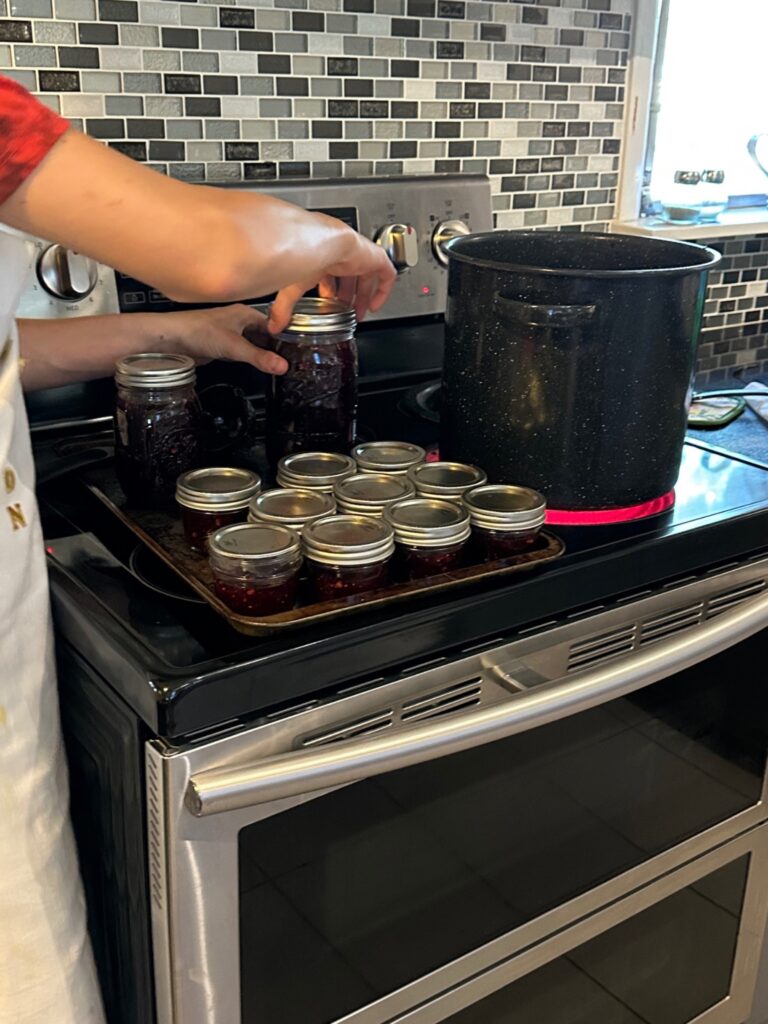
Canning Homemade Grape-Raspberry Directions
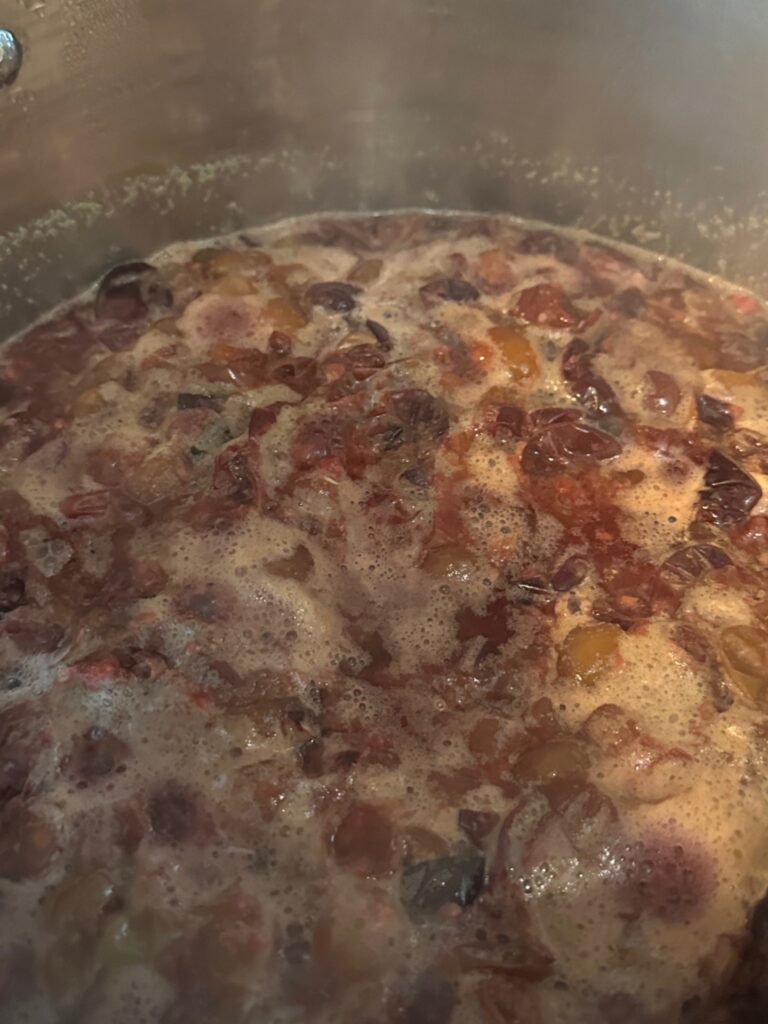
Canning homemade grape-raspberry jam is easy. First, cook the grapes and raspberries with 1 1/2 cups of water. As they are cooking use a potato masher to crush the berries and grapes. Next, boil. When the ingredients begin to boil, reduce heat and cover. Simmer on low heat for approximately 10 minutes.
As your jam is cooking, prep the canning equipment and get the water boiling in the water bath canner. Prepare the lids and jars by sterilizing.
Measure the exact amount of sugar to be added into the jam. Stir in slowly as it simmers on low.
Next, stir in the pectin slowly and return pot to a boil. Stir constantly.
Finally, ladle into prepared jars that have been cleaned in hot water.
After water bath canning homemade grape-raspberry jelly let it sit for 24 hours. The lids will make a popping sound to let you know that the process has been completed and the jam is ready to store.
Our canning homemade grape-raspberry jam turned out to be a success. I really hope that next year we have double the amount to preserve from our harvest. For more tips on canning or frugal living tips on a suburban homestead sign up for my newsletter.





Leave a Reply